
Crafty Time on Doggo Bloggo | DIY Doggo Bow Tie
December 16, 2020
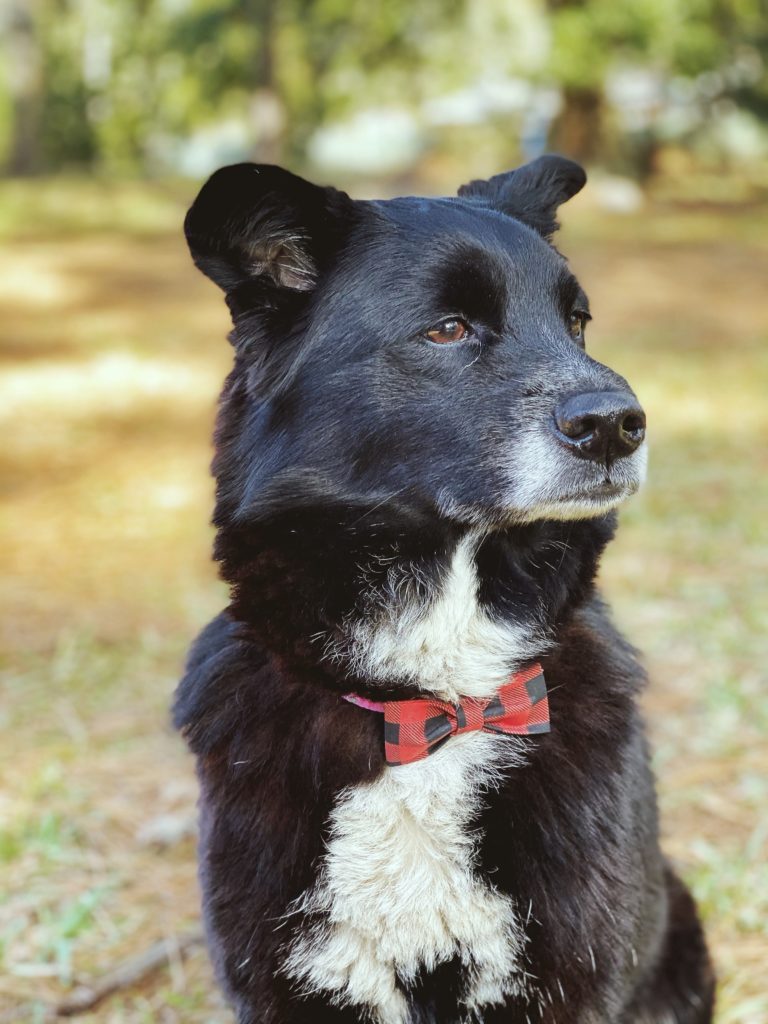
Hey there friends! Welcome back to Doggo Bloggo. This week Lily and I are making a bow tie for her friend Mia. This is an easy no-sew way to make a bow tie that slips right onto any collar. The Original post is here.


Supplies
- 4″ x 7″ piece of fabric for the main bow tie
- 4″ x 1.25″ piece of fabric for the center (you will trim about 1″ off eventually)
- Fabric tape
- Thin rubber band
- .25″ thick elastic ribbon (or thinner) – cut to a 2.25″ length
- Felt (optional)
- Iron
- Hot glue
- Hot glue gun
Directions
- First, cut the fabric of your choice into the dimensions listed above. Next, take the larger piece and fold it into a tri-fold (it won’t completely overlap – this will create the width of the bow tie, so you can adjust accordingly).
- Place a strip of fabric tape on the inside fold of the fabric flap, then iron to fuse the piece together.
- Repeat the same process with the smaller piece of fabric to create the wrap for the center of the bow tie.
- Back to the main fabric piece for the bow tie! Slightly overlap the ends of the larger piece of fabric together and fuse them with a piece of fabric tape. When you iron this piece, make sure the ends fall in the center. The press of the iron will create a small rectangle and will be the body of your bow tie!
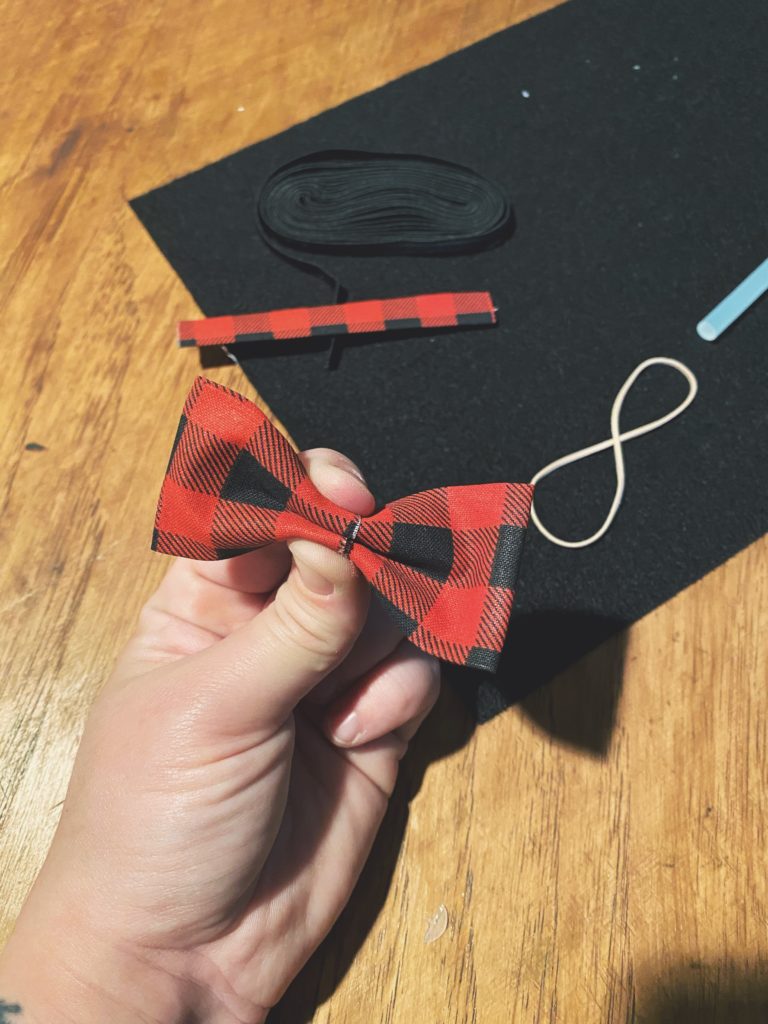
- Next, create the bow. Carefully pinch the center of the large fabric piece together to create a bow shape. When it is in the desired shape, secure the center tightly with a rubber band.
- Now, you will use the smaller fabric piece to wrap the center of the bow! You will have extra fabric, so start with one end – attach it to the back of the bow tie with a small dot of hot glue. Wrap the fabric around the center of the bow tie: cut it to fit so the ends just meet at the back of the bow tie. Secure with another dot of hot glue.
- To finish the bow tie, take the piece of elastic ribbon and secure the ends together with hot glue to make a loop. Then, glue the seam side down to the back of the bow tie. Allow it to dry and cool. If desired, you can cut a small rectangle of felt and glue it over the seam of the elastic afterward. This creates a more finished look but it is optional.
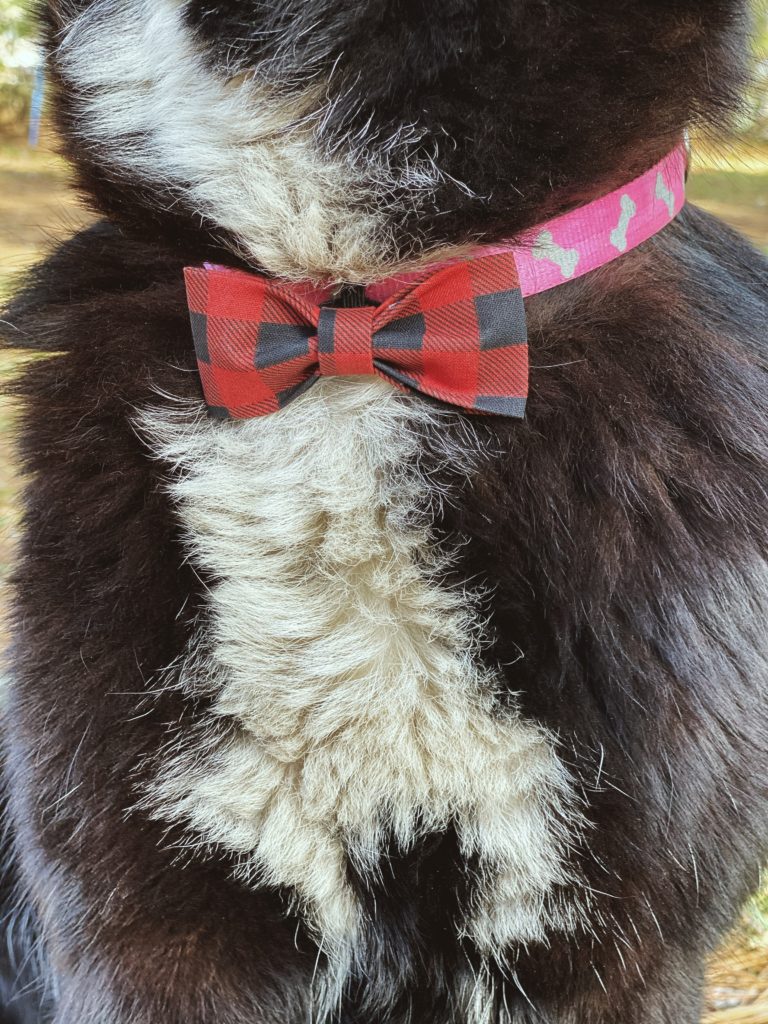
- Slide the bow tie onto your doggo’s collar and enjoy the cuteness!
We hope you have a fantastic week. Stay Safe, Live, Love, and Pet all the animals!
Love,
Jess & Lily
Leave a Reply
X
X
© Jessica Shaw Photography

Add a comment
0 Comments