
Crafty Time on Doggo Bloggo | DIY Slip Leash
August 26, 2020
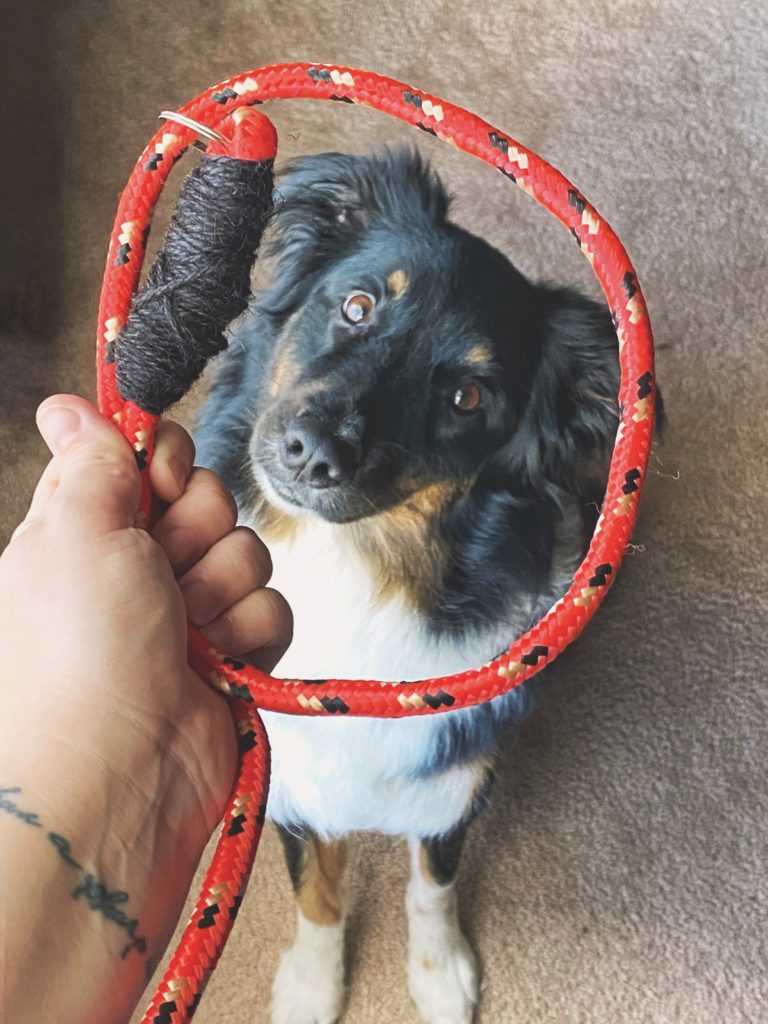
Hey there friends! Welcome back to Doggo Bloggo. This week Lily and I are making a slip leash. Slip leashes are super important for emergencies. It’s hurricane season here in Florida and dogs can get a little scared when it comes to storms. If your pup gets loose this can be a handy leash to have around as it doesn’t need to be connected to a collar. It is all in one. This is also a great item to carry with you if you in case a stray needs help. Getting a stray dog to trust you and come with you can be difficult and this leash gives you a way to get control without having to fumble with a collar or harness. If you are interested in what else Lily and I do to prepare for natural disaster weather check out our blog: Is Your Dog Ready for Hurricane Season? For now, let’s check out how to make your very own slip leash.
![]()
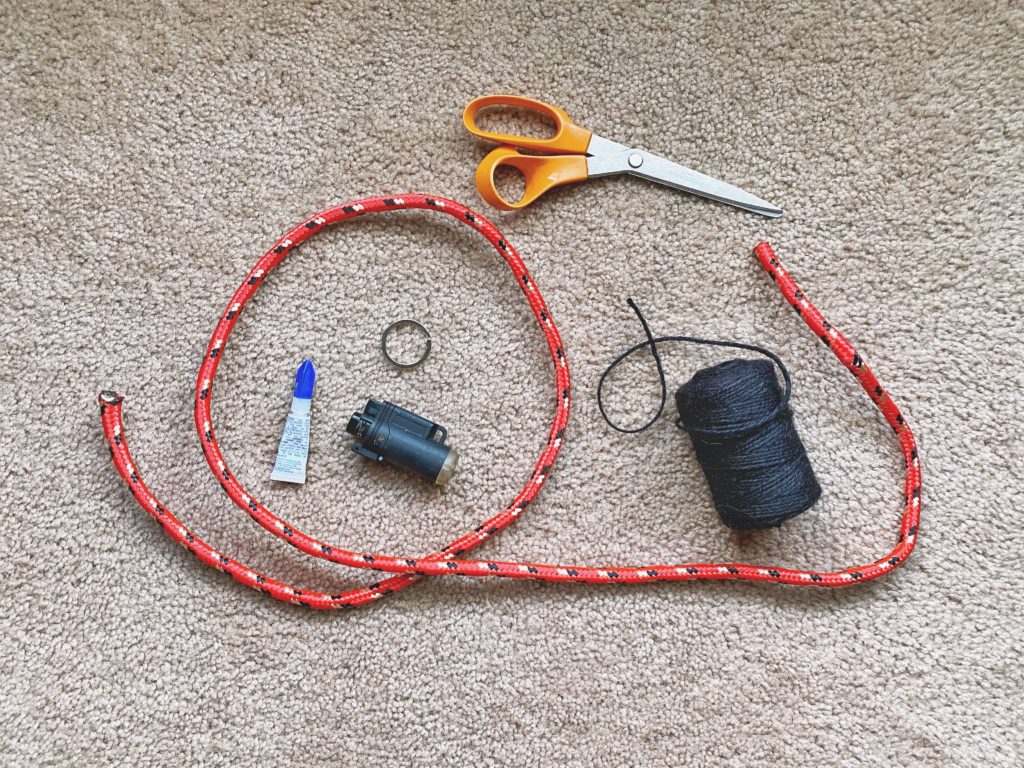
Supplies
- 5-foot length of 1/4″ or 3/8″ width poly or poly blend climbing rope
- roll of nylon or poly blend twisted line or twine
- ‘O’ rings, one inch in diameter (I used a key ring for this demonstration as that is what I had.)
- pair of scissors
- all-purpose glue
- matches (I used a lighter again because this is what I had)

Directions
- Once you cut your two five-foot sections of rope, use your matches to melt each end of the rope so that the rope doesn’t unravel. Hold the end in the flame for a few seconds then remove it from the flame, blow it out, and let it cool before touching it.
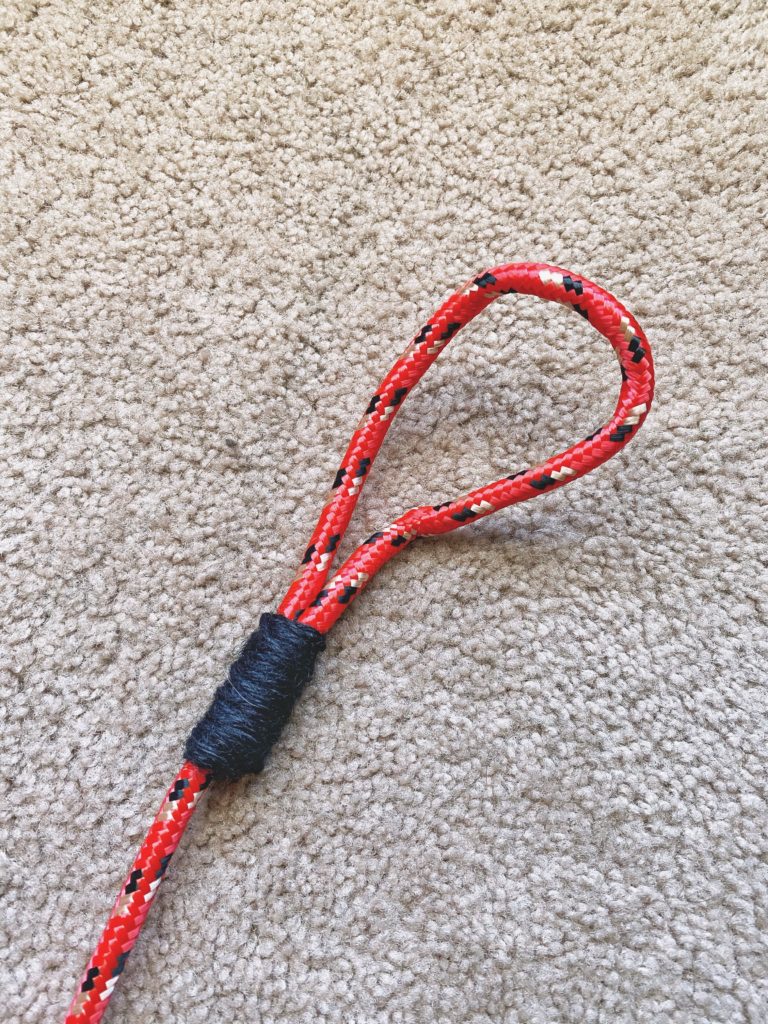
- Feed about an inch of the rope through one of the ‘O’ rings and bend it back to itself. Put a few drops of glue between the bent part of the rope and the longer section so that when the glue dries, the pieces are stuck together.
- Tie a large knot at the end of your string and place it where the two pieces of rope are glued together. Then begin wrapping the string around the two pieces of glued rope and that big knot. Pull the string as tight as you can and wrap it back and forth in several layers over this section. When it’s well wrapped and secure, tie a good knot around the wrapped section, trim the string, and melt the end of the string.
 Now take the other end of the rope, the loose end, and feed it through the ‘O’ ring. This forms the collar part of the slip leash.
- Once the loose end has been fed through the ‘O’ ring end of the rope, you will want to make a handle. Bend the end back creating a handle large enough to be comfortable for your hand. Glue about an inch of the loose end to the correct spot of the rope to form the handle and then wrap the string around it as you did at the ‘O’ ring. Tie a knot, trim the string, and melt the end of the string as you did at the ‘O’ ring.
- Set everything aside to allow the glue to dry and set. Your leash is finished once the glue is hardened.

![]()
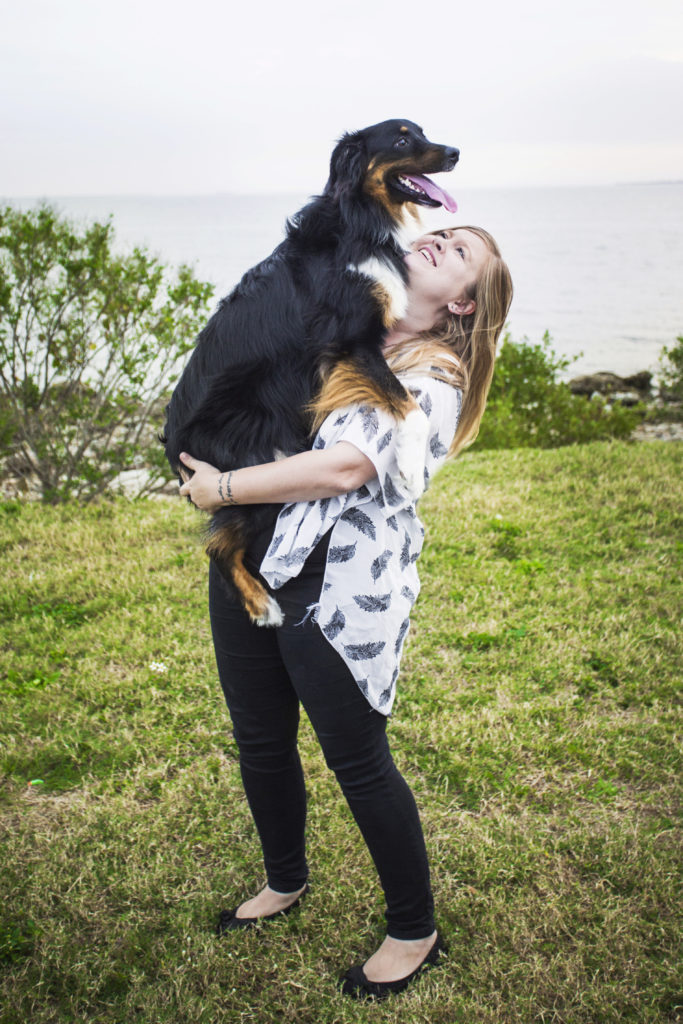
We hope you have a fantastic week. Stay Safe, Live, Love, and Pet all the animals!
Love,
Jess & Lily

Add a comment
0 Comments