
Crafty Time on Doggo Bloggo | DIY Doggo Paracord Collar
April 28, 2021
Hey there friends! Welcome back to Doggo Bloggo. This week Lily and I are making a bow tie for her friend Percy. This is an easy way to make a collar out of paracord and minimal other supplies. The Original post is here.

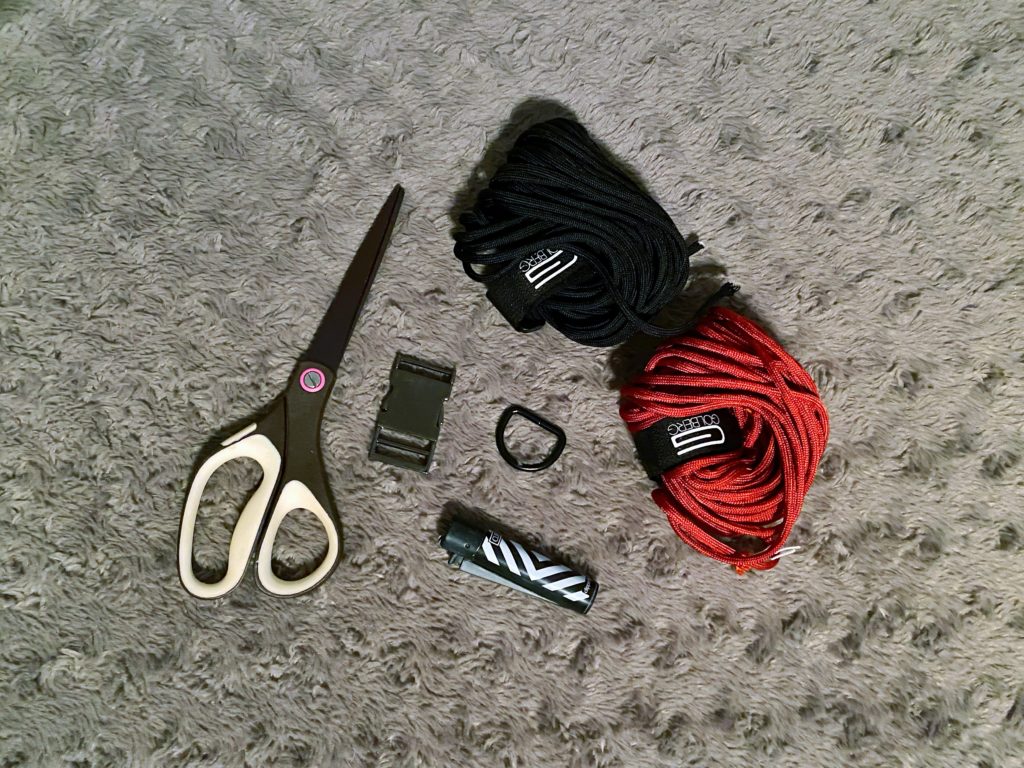
Supplies
- 550 Paracord: 19ft one color, 19ft a second color (to make a 20″ collar)
- Plastic buckle (or metal, whichever you prefer)
- A D-Ring (metal or plastic)
- Lighter
- Scissors
Directions
- Step 1: Join Two Pieces of Cord – You are going to start by joining both pieces of the paracord to make one single cord. Trim one end of each cord at an angle. First, trim the end of each color at an angle. Then use your lighter to melt the ends and press them together while they are still hot.
- Step 2: Secure Cord to the Buckle – Fold the cord in half at the joint you just made. Thread the loop through the female part of your buckle. Secure the cord to the buckle by making a hitch knot. Pull the cord through the loop you just made to secure the paracord to the buckle.
- Step 3: Set the Length of the Cords – Thread the ends through the other buckle. Now we are going to set the size of the paracord dog collar and secure the other end of the buckle. Slide the buckle along with the cords until you get the correct length. We are making our collar 20″ long. Once you measure, loop the ends around the buckle slot one more time to make it secure.
- Step 4: Slide the D Ring – Slide the D-Ring over the other end of the collar and up until it’s touching the buckle end you just attached. (the male piece)
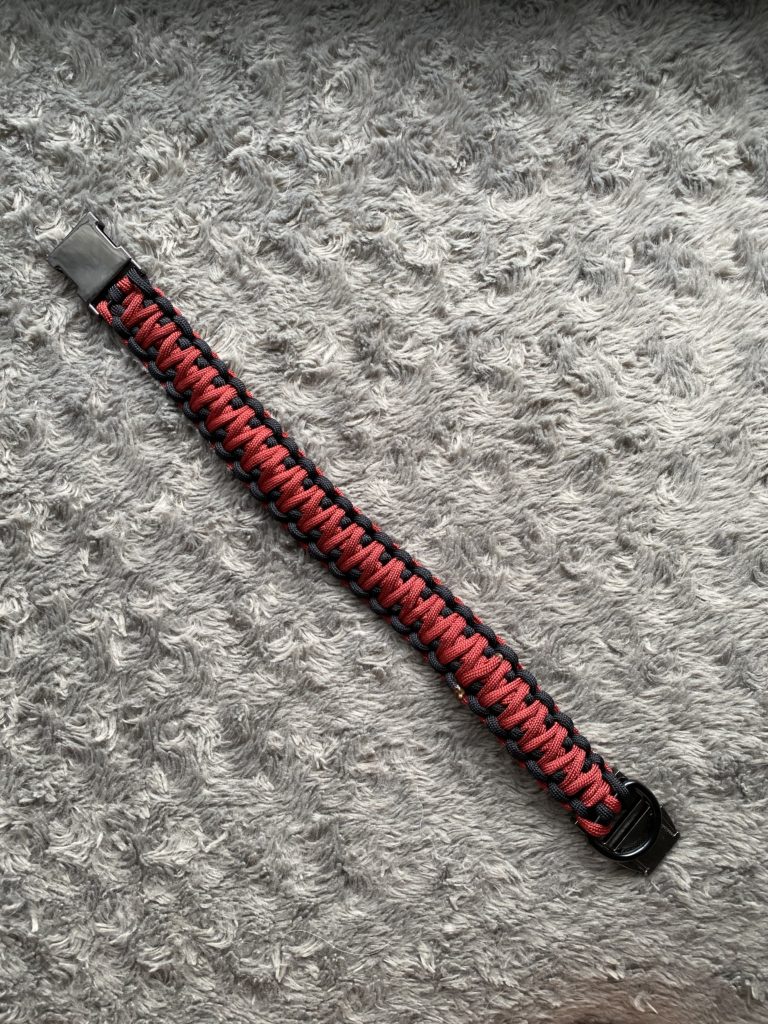
- Step 5: Cobra Weave – See step 5 on the original website for the best outcome.
- Step 6: Secure the Connection – Continue down until you reach the end of the collar. Turn the collar around and run the ends through the slot to make a more secure connection to the buckle. Continue until you can’t fit another knot. Turn the collar around and run the ends through the slot to make a more secure connection to the buckle. Pull the cords through.
- Step 7: King Cobra – King Cobra: You weave it the exact same way as the regular Cobra. Start with the same color cord you started with before to keep the color pattern consistent. This weave is super strong and even adds thickness and padding to the original cobra weave, making the collar more comfortable for pooches of all sizes. See instructions for king cobra on the original website for the best outcome.
- Step 8: Continue All the Way Down – You’ve reached the end! Make sure you get as close to the D-Ring as possible. Continue all the way down until you are back where you started. Get as close to the D-Ring as possible.
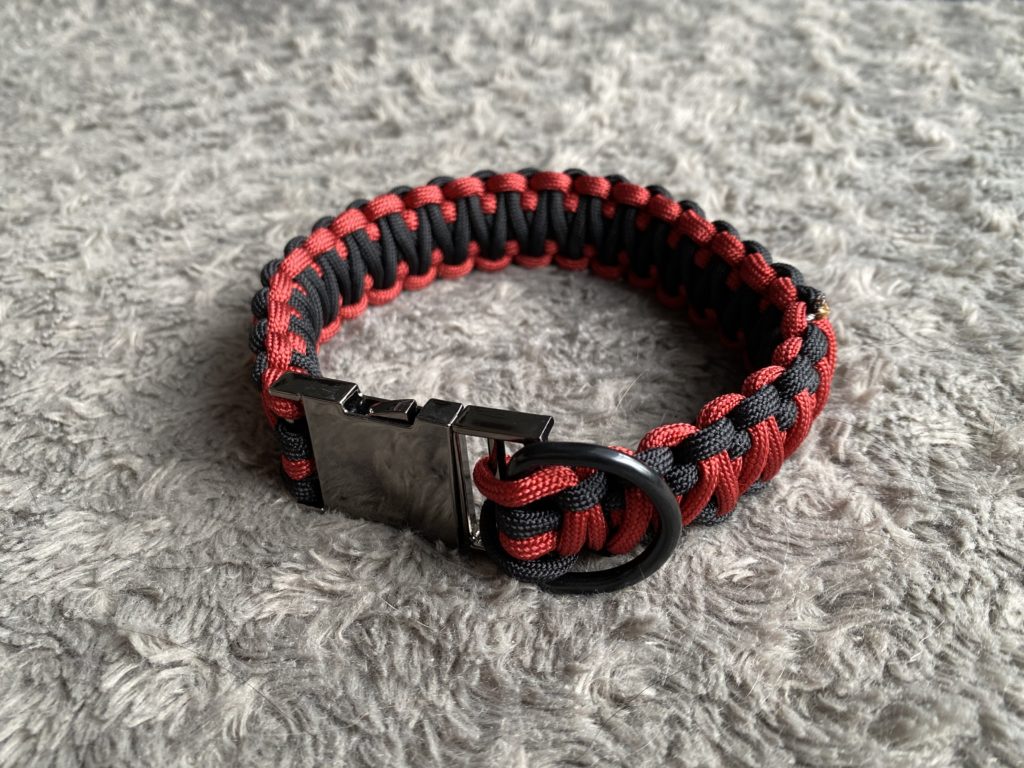
- Step 9: Secure and Finalize – Pull the ends of the cord through the center of the D-Ring and through the open slot in the buckle. This last step is where you will secure the cords and finalize the collar. Turn the collar over and thread the ends of the cord through a couple of loops. This will ensure your collar doesn’t come apart while you and Fido are romping through the woods. Once you secure the ends, trim them with your scissors and seal them with your lighter.
- Check out your King Cobra Paracord Dog Collar!
- Note: The tutorial is done for a large dog, so the collar ends up being a whopping 20″! If your pup is smaller, you can follow this simple rule to calculate the amount of paracord you’ll need: 1.5 feet of paracord for every 1 inch of your paracord dog collar.
We hope you have a fantastic week. Stay Safe, Live, Love, and Pet all the animals!
Love,
Jess & Lily
Leave a Reply
X
X
© Jessica Shaw Photography

Add a comment
0 Comments